Table of Contents
- Create an Octanist Account
- Website Installation
- Configure Organisation Settings
- General
- Features
- Data
- Advanced
Create an Octanist Account
- Sign Up
- Visit octanist.com and create a free account.
- After creating an account, set up an organisation by entering your business name.
- Install tracking
- Install website tracking before connecting ad platforms, so new leads can be linked to sessions and attribution.
- Use the website installation section to choose the right setup.
- Choose a Subscription
- Select a subscription plan that fits your business needs.
- Octanist offers a free trial with a limited number of leads you can collect and qualify, allowing you to explore the tool.
- Connect outgoing integrations
- Once tracking is active, connect Octanist to platforms such as Google Ads, Meta, or Google Analytics.
Website Installation
Choose one website installation method for each website. Do not send the same form submission through multiple Octanist capture methods.
The normal recommendation is Tracking pixel for custom websites and WordPress for WordPress websites. Use GTM Pixel when GTM is the only practical place to install scripts.
Optional setup pages:
- DNS setup for custom tracking subdomains.
- Form mapping for detected forms that need field mapping.
- Server-side form capture when browser-side form capture is unreliable.
- Client-side API for custom browser-side form submissions.
- Octanist Debugger for checking installs in Chrome.
Configure Organisation Settings
Navigate to Settings (cog icon in the bottom-left menu).General
Under General, you can configure essential options: Organisation:- Your measurement ID, used by the tracking pixel and WordPress plugin
- Your website
- Billing
- Current invited members and pending invitations
- Manage users and their roles:
- Admin: Can manage users and integrations
- Member: Can manage leads
- Usage Statistics: Your current usage and how much is still available in your monthly billing period
- Billing History: A brief overview of your invoices
- Weekly Summary: A summary of your weekly lost, won, and qualified leads
- Lead Expiry Digest: An email is sent to specific users when a lead is about to expire and can no longer be tied back to an advertisement. Qualify these as soon as possible.
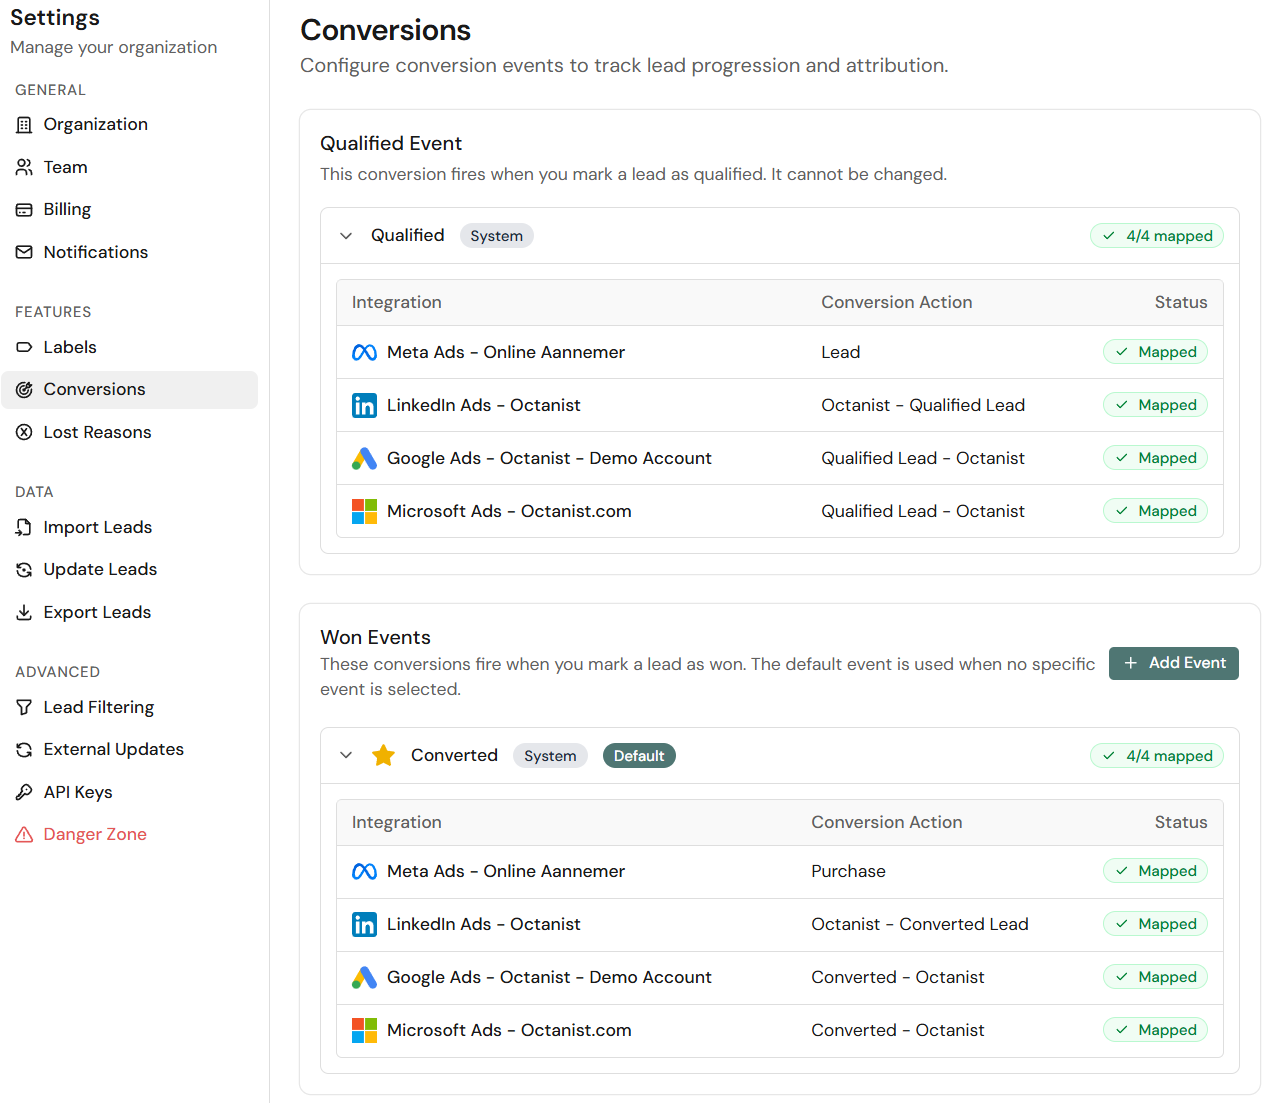
Features
Labels:- Manage labels to attach to specific leads based on your business needs.
- Qualified Events: Here you can see which conversion names are being used for qualified leads as a stage for your advertising platforms, or have been marked as conversions.
- Won Events: Here you can find the conversion names for won events across every platform.
- Enter your standard reasons for when a lead is lost. This can help you gain insights into why leads haven’t converted.
Data
Import Leads: Here you can import leads that you have previously collected or that did not come through an online channel. Follow our data import documentation to set this up. Update Leads:- Perform a manual bulk upload to update leads. You can identify rows by Octanist lead ID, external lead ID, email, or phone.
- Export your leads and their data to a CSV or Excel file. External lead ID is available as an export field and can be imported again without changing the identifier.
Advanced
- Lead Filtering: Used to only receive leads from a specific domain.
- Tracking: Used to install the Octanist pixel, configure a custom tracking domain, and verify setup.
- External Updates: Used to determine how to handle errors and qualifications of leads when using APIs or updating integrations.
- API Keys: Used for external tooling and Zapier to qualify leads automatically.
- Danger Zone: Here you can delete your organisation.